前言
Nuxt3是基于vue3的服务端渲染的网络框架,记录一次使用Nuxt3搭建前端项目的过程。
一、项目创建
初始化命令:npx nuxi@latest init <project-name>
E:\www\web>npx nuxi@latest init nuxt-luhuohuo

√ Which package manager would you like to use?
npm
o Installing dependencies...

> postinstall
> nuxt prepare

√ Types generated in .nuxt

added 743 packages, and audited 745 packages in 1m

130 packages are looking for funding
  run `npm fund` for details

found 0 vulnerabilities
√ Installation completed.

√ Initialize git repository?
Yes
i Initializing git repository...

Initialized empty Git repository in E:/www/web/nuxt-luhuohuo/.git/

✨ Nuxt project has been created with the v3 template. Next steps:
 › cd nuxt-luhuohuo
 › Start development server with npm run dev

E:\www\web>
如果遇到报错:ERROR Error: Failed to download template from registry: Failed to download https://raw.githubusercontent.com/nuxt/starter/templates/templates/v3.json: TypeError: fetch failed,点击查看解决方案。
二、启动Nuxt3项目
E:\www\web>cd nuxt-luhuohuo

E:\www\web\nuxt-luhuohuo>yarn dev -o
yarn run v1.22.22
$ nuxt dev -o
Nuxt 3.12.2 with Nitro 2.9.6

  ➜ Local:    http://localhost:3000/
  ➜ Network:  use --host to expose

  ➜ DevTools: press Shift + Alt + D in the browser (v1.3.7)

i Vite client warmed up in 893ms
i Vite server warmed up in 908ms
√ Nuxt Nitro server built in 329 ms
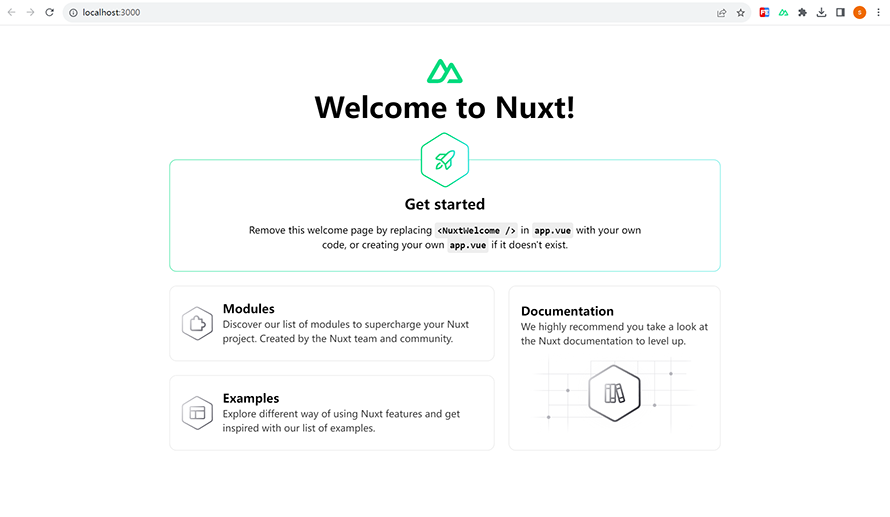
切换到项目目录,执行 yarn dev -o 命令,即可启动项目并在浏览器打开,效果如下

三、配置 Naive UI
安装 Naive UI
// 安装 Naive UI
npm i -D naive-ui

// 使用 Nuxt Module
npx nuxi module add nuxtjs-naive-ui
安装自动按需导入插件
npm install -D unplugin-vue-components unplugin-auto-import
在 nuxt.config.ts 文件中配置自动按需导入
import AutoImport from 'unplugin-auto-import/vite'
import Components from 'unplugin-vue-components/vite'
import { NaiveUiResolver } from 'unplugin-vue-components/resolvers'

export default defineNuxtConfig({
  	devtools: { enabled: true },
  	modules: ['nuxtjs-naive-ui'],
	vite: {
		plugins: [
			AutoImport({
				imports: [
					{
						'naive-ui': [
						'useDialog',
						'useMessage',
						'useNotification',
						'useLoadingBar'
						]
					}
				]
			}),
			Components({
				resolvers: [NaiveUiResolver()]
			})
		]
	}
})
四、配置 Windi Css
安装 Windi Css
npm i nuxt-windicss -D
在 nuxt.config.ts 文件中添加配置
//......

export default defineNuxtConfig({
  	//......
	buildModules: [
		'nuxt-windicss',
	],
})


